A dimmer that flickers, buzzes, or suddenly drops brightness is not always defective. In most cases, the issue comes from a compatibility mismatch between the dimmer, LED driver, and lighting load.
When learning how to connect a dimmer to an LED driver, proper wiring is only part of the process. The dimming technology used by the driver must also match the dimmer. Even perfectly wired systems can perform poorly when incompatible components are paired together.
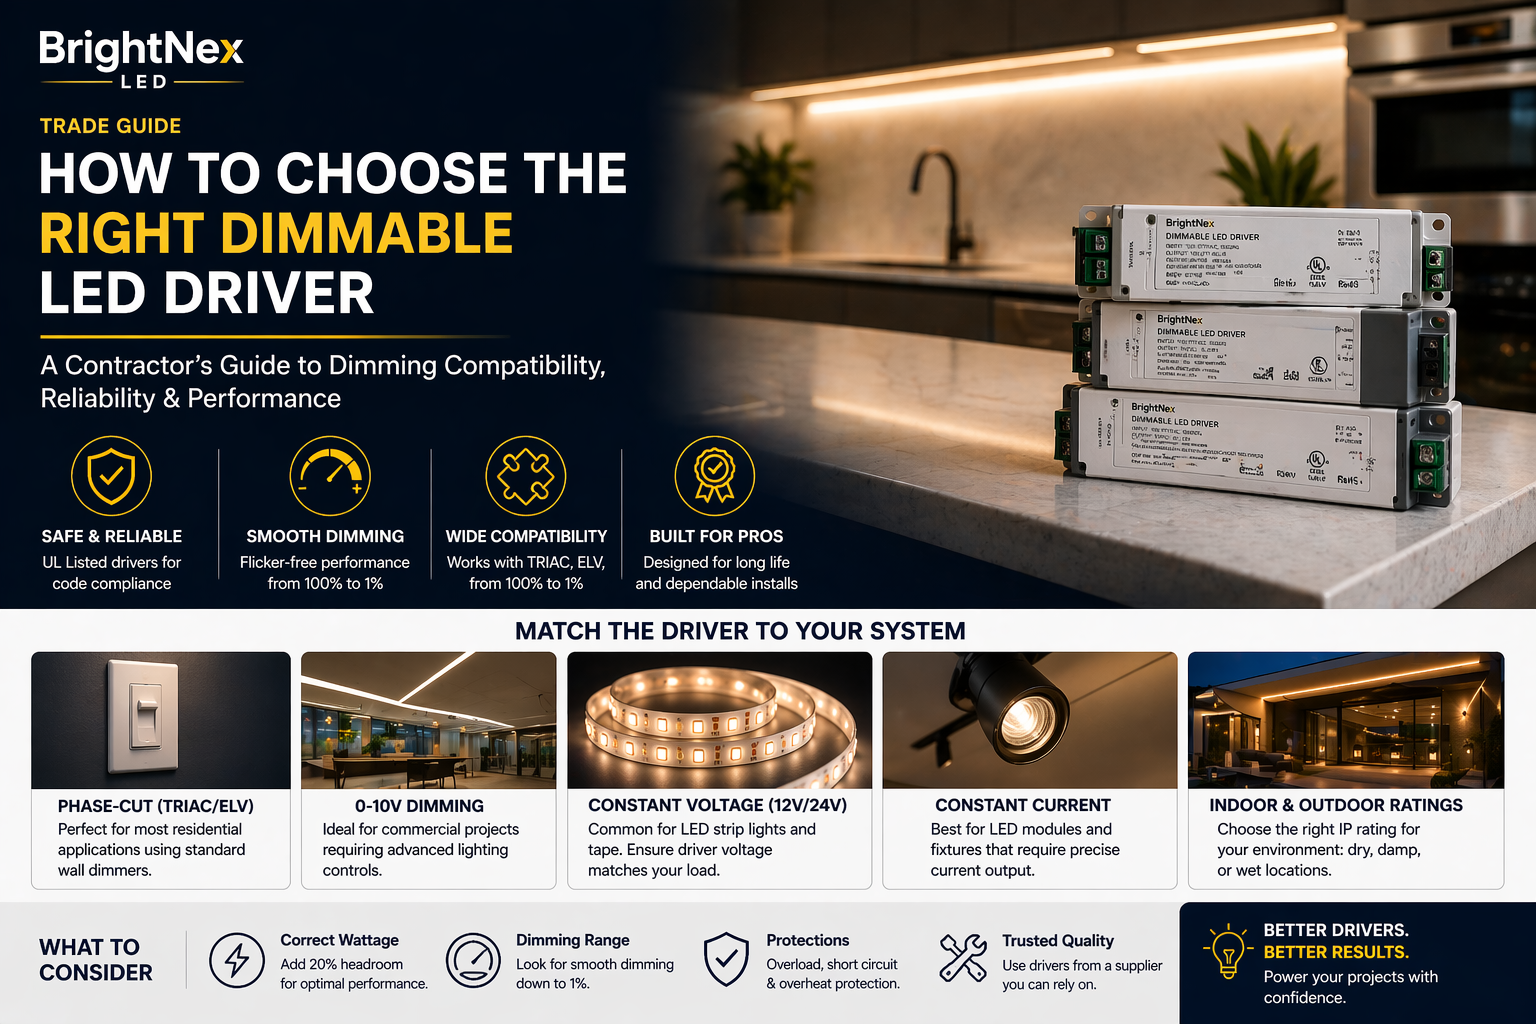
This is especially important for recessed downlights, LED strip lighting, under-cabinet lighting, architectural applications, and outdoor low-voltage systems. Reliable dimming depends on three factors:
- Compatible driver and dimmer technology
- Correct wiring practices
- Proper load sizing
Identify the Dimming Method First
Before making any electrical connections, determine which dimming protocol your LED driver supports.
Common dimming methods include:
- TRIAC (Forward Phase)
- ELV (Reverse Phase)
- 0-10V Dimming
- PWM Dimming
- Smart Control Systems
For most residential projects, the choice comes down to either phase-cut dimming (TRIAC or ELV) or 0-10V dimming.
If your LED driver is TRIAC or ELV dimmable, the wall dimmer is installed on the line-voltage side of the driver. The dimmer controls the AC power feeding the driver.
With a 0-10V system, the driver receives standard line voltage while dimming is controlled through a separate pair of low-voltage control wires. Because these systems operate differently, a standard wall dimmer cannot be used with a 0-10V driver unless the driver specifically supports that control method.
Match the Driver and Dimmer
The easiest way to avoid flickering and poor performance is to choose a driver and dimmer that are designed to work together.
Check the LED driver specifications for:
- Input voltage
- Output voltage or current
- Supported dimming protocol
For example, a 24V constant-voltage LED strip driver may support TRIAC dimming on the input side. In this setup, the wall dimmer controls the AC power feeding the driver.
A commercial 0-10V driver operates differently. The driver receives constant line voltage, while dimming is controlled through dedicated low-voltage signal wires.
Load sizing is equally important. Many LED dimmers have minimum and maximum load requirements. If the connected load is too small, flickering or unstable dimming may occur. If the load exceeds the dimmer's LED rating, overheating and unreliable operation can result.
For the best results, use a driver and dimmer combination that has been tested for compatibility. This helps ensure smooth dimming performance, eliminates troubleshooting, and extends system life.
Wiring a TRIAC or ELV Dimmer
TRIAC and ELV dimmers are the most common solutions for residential LED lighting.
- Turn off power at the breaker.
- Verify power is disconnected.
- Connect the dimmer between the incoming line voltage and the LED driver's AC input.
- Connect neutral and ground according to local electrical code and manufacturer instructions.
- Connect the driver's DC output to the LED fixture or LED strip, observing correct polarity.
After restoring power, test the entire dimming range. If you experience flickering, dead zones, or limited dimming performance, verify that the dimmer type matches the driver's requirements.
TRIAC and ELV dimming are not interchangeable. Many modern electronic LED drivers perform best with ELV dimmers, while others are designed specifically for TRIAC control.
Wiring a 0-10V Dimmer
0-10V dimming is commonly used in commercial buildings, offices, retail spaces, and premium residential installations.
Unlike phase-cut dimming, the driver receives normal line voltage while dimming is controlled through dedicated low-voltage wiring.
Most 0-10V drivers use:
- Purple wire (+)
- Gray wire (-)
These control wires connect directly to the 0-10V dimmer.
Depending on the dimmer model, line-voltage power may also be required. Always follow the manufacturer's wiring diagram for both the dimmer and the driver.
Most 0-10V systems dim from full brightness down to approximately 10%, although some premium drivers can achieve 1% or lower dimming levels.