
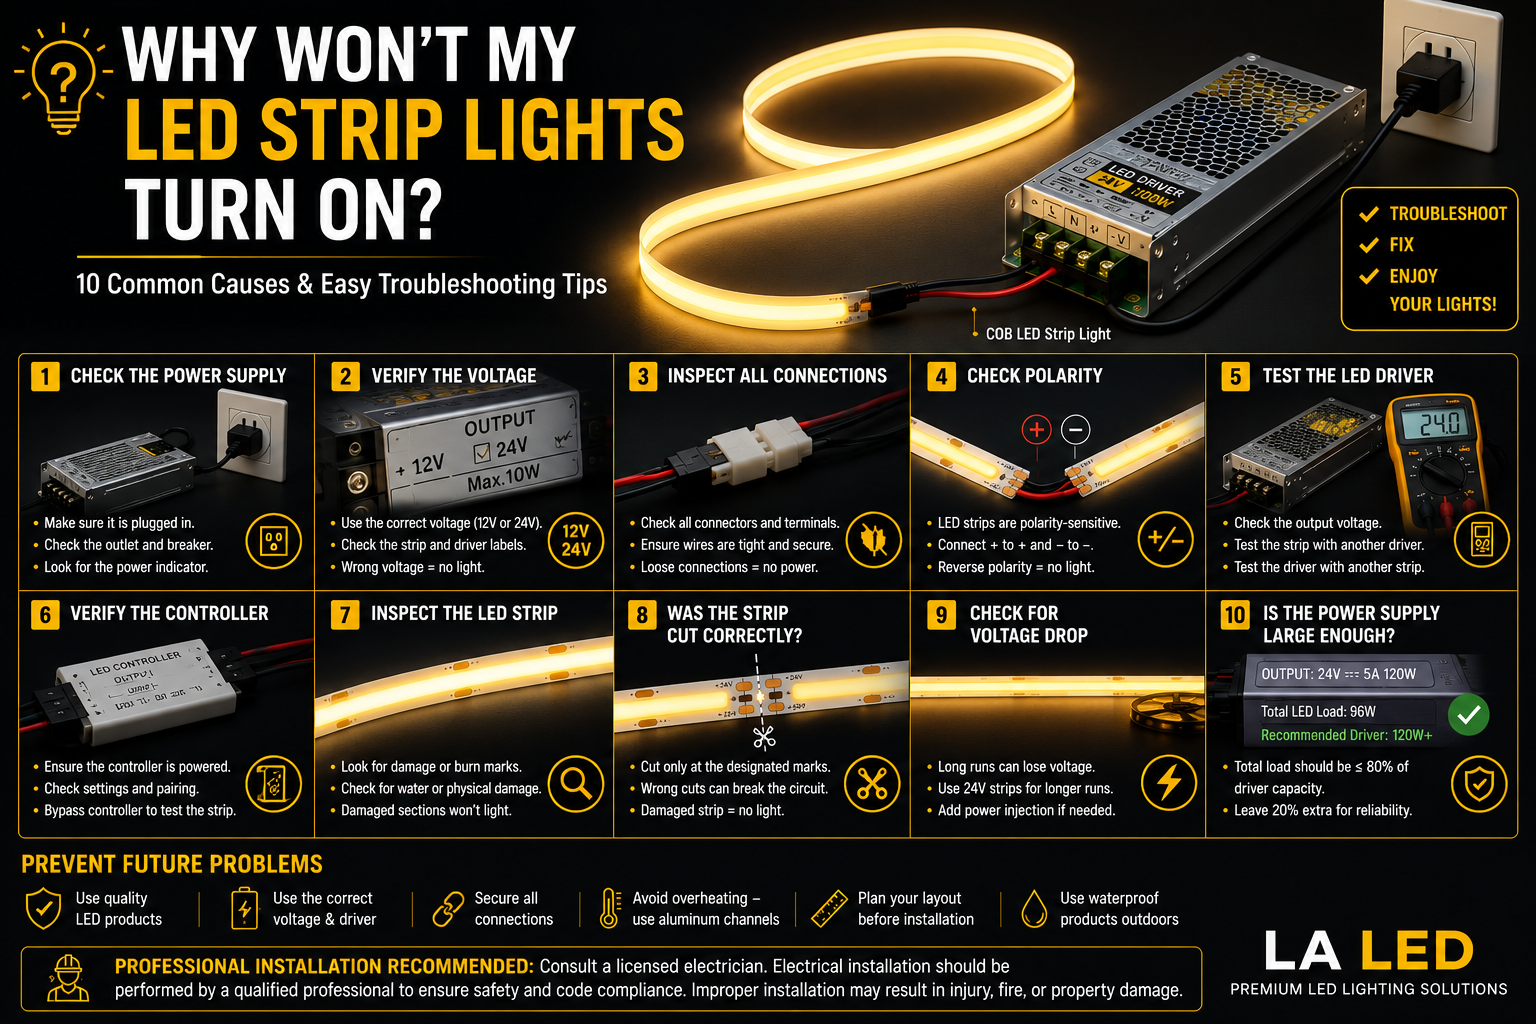
LED strip lights are one of the most reliable and energy-efficient lighting solutions available today. However, if your LED strip lights suddenly stop working or refuse to turn on after installation, it can be frustrating.
Fortunately, most problems are easy to identify and fix. In many cases, the issue isn't with the LED strip itself but with the power supply, wiring, controller, or installation.
Before replacing any components, follow these troubleshooting steps to identify the cause of the problem.
1. Check the Power Supply
One of the most common reasons LED strip lights won't turn on is a faulty or disconnected power supply.
Start by making sure:
- The power supply is plugged in.
- The wall outlet is working.
- The power indicator (if available) is on.
- The circuit breaker hasn't tripped.
If the power supply isn't delivering power, the LED strip won't light up.
2. Verify the Voltage
LED strip lights are typically designed to operate on either 12V or 24V.
Using the wrong voltage can prevent the strip from working and may even damage it.
Always confirm that:
- A 12V strip is connected to a 12V power supply.
- A 24V strip is connected to a 24V power supply.
Never connect a 12V strip directly to a 24V driver. If you are unsure which voltage a replacement should be, a selectable unit such as the 60W 5-in-1 Dimmable LED Driver (12V / 24V) can be set to match either type of strip.
3. Inspect All Connections
Loose or incorrect wiring is another common cause of installation problems.
Carefully inspect:
- Wire terminals
- DC connectors
- Quick connectors
- Extension cables
- Solder joints
Even a slightly loose connection can interrupt power and prevent the strip from turning on.
4. Check Polarity
Most LED strip lights are polarity-sensitive.
If the positive (+) and negative (-) wires are reversed, the strip may not operate.
Double-check that:
- Positive connects to positive.
- Negative connects to negative.
Many installation problems are solved by correcting reversed polarity.
5. Test the LED Driver
If possible, test the LED strip using another compatible power supply.
Likewise, test the existing driver with another LED strip.
This simple process can quickly determine whether the problem is the driver or the strip itself. If the driver turns out to be the failed component, a 100W 5-in-1 Dimmable LED Driver covers most residential strip loads and supports every common dimming protocol.
6. Verify the Controller
RGB, RGBW, and CCT LED strip lights require a compatible controller.
If the controller loses power, becomes damaged, or isn't paired correctly, the LED strip may remain off even though the driver is working.
Try bypassing the controller by connecting the strip directly to the power supply (when appropriate for the product) to help identify the source of the issue. If the strip lights up without the controller, the controller is the fault, and a unit like the MiBoxer WL5 WiFi 5-in-1 LED Controller (12-48V) handles single color, CCT, RGB, RGBW, and RGB+CCT strips from one device.
7. Inspect the LED Strip
Carefully examine the strip for signs of damage.
Look for:
- Burn marks
- Broken circuits
- Damaged LEDs
- Water damage
- Cracked solder joints
Physical damage can interrupt the electrical circuit and prevent the strip from operating.
8. Was the Strip Cut Correctly?
LED strip lights should only be cut at the designated cutting marks.
Cutting in the wrong location can permanently damage the circuit and stop the strip from working.
If the strip was recently shortened, inspect the cut location carefully.
9. Check for Voltage Drop
Very long LED strip installations can experience voltage drop.
Although voltage drop usually causes dimming rather than a complete failure, severe voltage loss may prevent the far end of the strip from lighting properly.
For longer installations:
- Use 24V LED strips.
- Add power injection.
- Divide long runs into shorter sections.
If a 12V run is being replaced, a 24V strip such as the Indoor Dotless Dimmable COB LED Strip (10mm, 24V) holds brightness more evenly over the same distance.
10. Is the Power Supply Large Enough?
An undersized LED driver may not deliver enough power for the connected strip.
Calculate:
Total LED Strip Wattage ≤ 80% of Driver Capacity
For example:
- LED strip load: 80W
- Recommended driver: 100W or larger
Leaving approximately 20% extra capacity improves long-term reliability. For loads beyond that example, a 150W 5-in-1 Dimmable LED Driver allows roughly 120W of usable capacity.
Prevent Future Problems
Most LED strip lighting issues can be avoided by using quality components and following proper installation practices.
Always:
- Match the correct voltage.
- Use an appropriately sized LED driver.
- Secure all electrical connections.
- Avoid excessive strip lengths.
- Install LED strips in aluminum channels when possible.
- Purchase high-quality LED products from trusted suppliers.
Proper planning results in brighter, more reliable lighting that lasts for years.
Final Thoughts
If your LED strip lights won't turn on, don't assume the strip is defective.
Most problems are caused by simple issues such as loose connections, incorrect voltage, undersized power supplies, or controller problems.
By following a systematic troubleshooting process, you can usually identify the issue quickly and restore your lighting without replacing unnecessary components.
FAQ
Why won't my LED strip lights turn on after installation?
The most common causes include incorrect voltage, loose wiring, reversed polarity, or an incompatible power supply.
Can a bad LED driver prevent the strip from turning on?
Yes. A faulty or undersized LED driver is one of the leading causes of LED strip lighting failures.
Can incorrect polarity stop LED strip lights from working?
Yes. Reversing the positive and negative connections will often prevent the strip from lighting.
How do I know if my power supply is working?
Check the output voltage with a multimeter or test the LED strip using another compatible power supply.
Why does only part of my LED strip work?
This may indicate voltage drop, physical damage, or a damaged section of the strip after cutting.